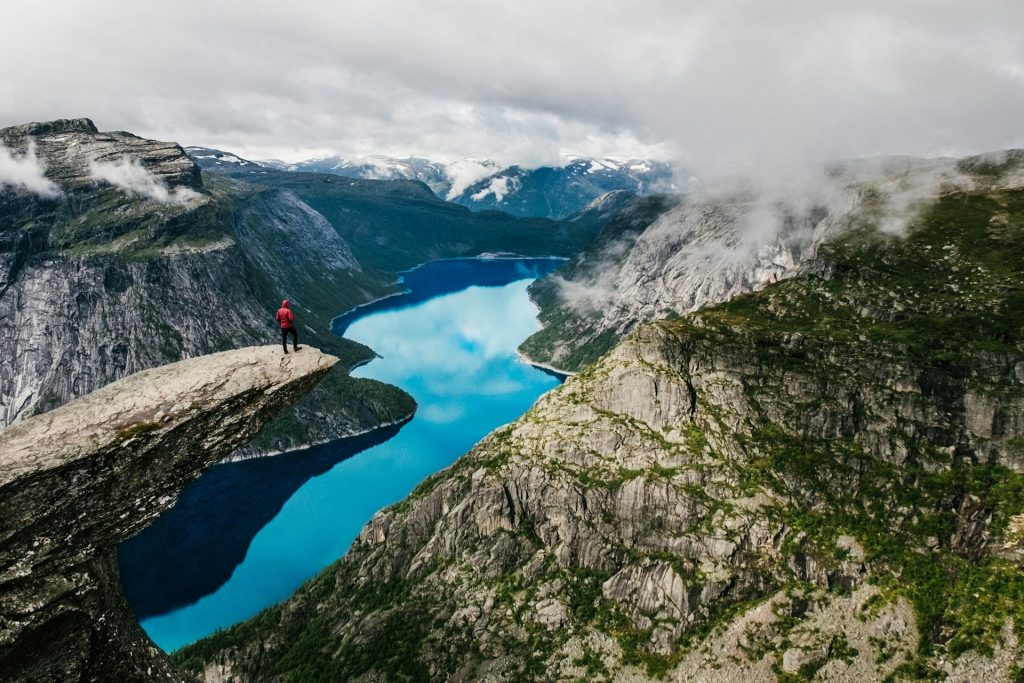
Trolltunga is one of Norway’s most photographed viewpoints, a thin rock ledge jutting into thin air above Ringedalsvatnet. The hike is spectacular, long, and exposed. It rewards those who plan well and punishes those who treat it like a casual stroll. I grew up hiking in Norway and have guided friends and visitors here many times. The same truths hold every season: the trail is beautiful, the weather changes fast, and the distance is no joke.
Short answer: the Trolltunga hike is hard for most people. Expect 20 to 28 kilometers round trip, 700 to 1,200 meters of total elevation gain, and 8 to 12 hours on your feet depending on where you start and your pace. If you are not used to full-day mountain hikes with a pack, this will push you. With the right preparation, many people manage it and have a great day. Without it, the mountain usually wins.
If you are still reading, good. You are taking it seriously. Let’s dig into what the day actually feels like and how to decide if it is for you.
Distance, Elevation and Time at a Glance
The numbers vary because there are a few ways to start:
- Standard trail from Skjeggedal parking (P2): roughly 27 to 28 kilometers round trip. You climb out of the valley, cross rolling high country, and return the same way. Count on 10 to 12 hours for most hikers.
- Upper start from Mågelitopp (P3) when access is available: this cuts a chunk of climbing and distance. Plan for 20 to 23 kilometers round trip and 8 to 10 hours. Spots are limited and must typically be prebooked. Shuttles may run in high season.
- Elevation gain: expect around 800 to 1,100 meters total once you add the undulations across the plateau. Your legs will notice this on the return.
These figures are why locals call it a long day, not a technical one. There are no ropes or scrambling if you stay on the marked route, but the combination of distance, elevation, and exposure to weather makes it demanding.
What Makes the Trolltunga Hike Difficult
Length and energy management. People tend to underestimate how much steady effort it takes to hike for 8 to 12 hours. The last 5 to 7 kilometers back to the car feel long because your legs are spent and the views no longer distract you.
Steep opening and closing sections. You gain height fast near the beginning and lose it all at the end. Stone steps, rocky paths, and a few rooty bits challenge knees and ankles, especially on the descent.
High plateau conditions. Above treeline, the trail crosses open terrain. Wind is stronger, temperatures drop, and there is nowhere to hide from rain. In early summer, snow patches and wet sections slow you down.
Crowds and queues. On busy days, there can be a line for the photo on the rock itself. That waiting time adds to your total hours on the mountain, and you are standing still in the wind.
Weather volatility. Western Norway’s fjord region switches from sunshine to fog and drizzle quickly. Visibility can drop, and windchill bites. The trail is marked, but poor conditions can make navigation and footing tougher.
Season and Daylight: When to Go
The main hiking season typically runs from mid June to late September, depending on snow. July and August offer the longest days and the warmest conditions, which helps with safety and timing. Outside this window, conditions can become alpine, with snow, ice, and short daylight. Winter and shoulder-season trips require proper equipment and experience.
If you go in high season, start early. Hitting the trail before 7:00 makes a big difference. You will move in cooler air, get ahead of the biggest photo queue, and keep a comfortable buffer in case weather changes.
Fitness and Experience You Need
You do not need climbing skills, but you do need solid endurance. Here are honest benchmarks I give friends:
- You can comfortably hike 20 kilometers or more in a day on undulating terrain and still have energy to spare.
- You handle 800 meters of elevation gain at a steady pace without needing long breaks every 15 minutes.
- You have done a full-day hike of 6 to 8 hours with a 6 to 8 kilogram pack and finished in good shape.
If these sound far from your current baseline, give yourself a few training weekends first. Hills, stair climbs, and long walks with a pack are your best preparation.
Trail Conditions You Should Expect
Surface: a mix of gravel, bedrock slabs, wooden boardwalks, and worn soil. After rain, rock and boardwalks become slick.
Waymarking: the standard red Ts and signposts are clear in good visibility. In fog, stay attentive. Do not take shortcuts that cut across fragile ground or cliff edges.
Water: plenty of streams run early in the season, fewer later. I still carry at least 2 to 3 liters per person because the upper stretches can be dry on warm days.
Facilities: there are toilets at the trailhead and seasonal compost toilets along the route, but be prepared to be self-sufficient. Pack out all trash.
Essential Gear That Actually Matters
Keep it simple and functional. The mountains here reward practical choices.
- Footwear: sturdy hiking boots or trail shoes with real grip. Fresh tread saves ankles on the descent.
- Layers: waterproof jacket and pants, a warm mid layer, and a dry base layer in your pack. Even on “good” days, showers roll through.
- Food and water: more than you think. Aim for 3,000 to 4,000 calories of snacks and lunch for a full day. Salty foods help.
- Navigation and light: phone with offline map, a small power bank, and a headlamp. Even in summer, cloud and fatigue can slow you down.
- First aid: blister care, tape, and a basic kit. A space blanket is light and smart.
- Trekking poles: not mandatory, but they save knees and help on wet rock and during the final descent.
Golden rule: if you would be miserable standing still in rain and wind for 30 minutes at the viewpoint, you are underdressed.
How to Make the Day Manageable
Start early and set a turnaround time. A simple rule is the “halfway time.” If you reach the midpoint slower than expected, be willing to turn around. The mountain will not move, but the daylight will.
Pace yourself from the first climb. Many people burn too hot in the opening hour and pay for it after lunch. Keep a steady, chatty pace.
Short breaks often. Five minutes every hour for food and layers is more efficient than long stops that make you stiff and cold.
Watch the sky. If clouds thicken and the wind rises, add layers before you feel chilled. Do not gamble on improving weather unless you have good info.
Respect the queues. If there is a long wait at the rock, decide whether the iconic shot matters to you. The view is impressive from the safe area above too.
Common Mistakes Locals See Every Year
Underestimating the return. People make it to the rock on adrenaline and turn around with little energy left. The hike only ends at the parking lot.
Too little water and food. Granola bars alone do not carry you for 10 hours. Bring real calories.
Cotton and fashion sneakers. Wet cotton drains heat. Slippery soles turn small slips into sprains.
Late starts. Beginning at noon means you share the steep descent with tired legs and dimmer light.
Ignoring forecasts. A sunny morning can hide an afternoon front. Check the latest forecast before you leave, and be ready to adapt.
Is a Guide Worth It?
For confident hikers in prime season, the route is straightforward. For those with limited mountain experience, a local guide can be the difference between a type-2 slog and a safe, enjoyable day. Guides understand current trail conditions, carry safety equipment, and pace the day well. In shoulder seasons or if snow remains, guided trips are strongly recommended.
Safety Notes Locals Emphasize
- Phone coverage comes and goes. Do not rely on streaming maps. Save offline maps and share your plan with someone.
- Cliff edges are real. The rock is safe if you step where others step and keep your wits. No trick jumps, no dangling legs on wet days.
- Know when to turn back. Low cloud, strong wind, or heavy rain can erase the fun and introduce risk. Turning around is smart, not failure.
Alternatives With Similar Drama and Less Commitment
If you want big views with less distance, consider:
- Buarbreen near Odda: glacier views with a shorter approach, still adventurous with cables and bridges.
- Kjerag or Preikestolen: both are serious hikes, but distances and logistics can be kinder depending on conditions and your fitness.
- Local ridge hikes above Odda and Tyssedal: shorter climbs to fjord-and-glacier panoramas without the long plateau traverse.
These are not “easy,” but they give you the Norwegian mountain feeling with fewer hours underfoot.
Final Practical Call
If Trolltunga is on your list, treat it with respect. Plan for a full day, bring proper layers and food, start early, and listen to the weather. If that sounds doable, you will likely have a memorable day and a photo that actually means something because you earned it. If you read this and think your legs or calendar are not ready, pick a shorter hike this time and come back stronger. The rock is patient. Norway rewards those who are, too.